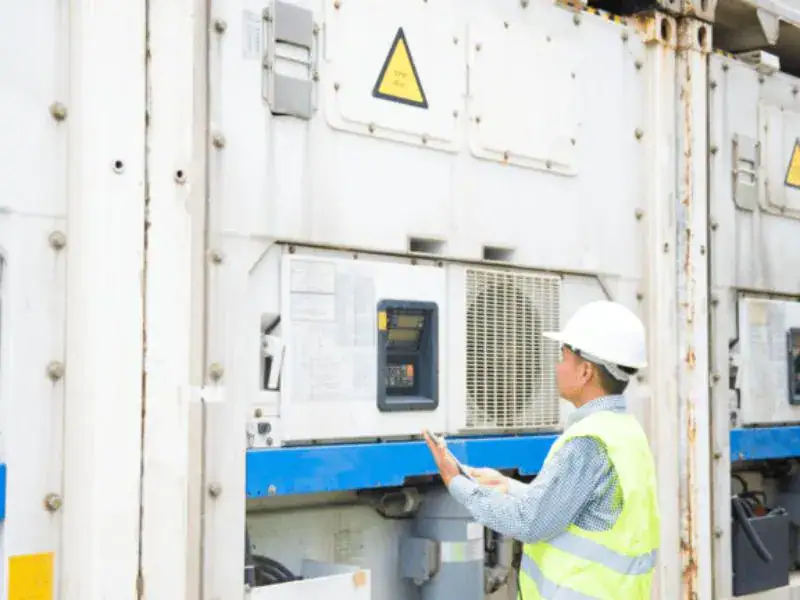
Why the Reefer Compressor Matters in Trailer Refrigeration Units
Simply put, without the reefer compressors, the entire refrigeration system cannot function properly.
Basically, it compresses refrigerant gas and enables continuous heat exchange, allowing trailer units to maintain stable internal temperatures during long-distance transport.
For industry which needs long-distance transition and cooling, such as food logistics, pharmaceuticals, and cold chain, even a short period of cooling failure can result in serious consequences. When a compressor stops working, WHAT gonna happen:
-
Rapid temperature rise inside the trailer
-
Product spoilage and financial loss
-
Delivery delays and contractual penalties
-
Increased maintenance and emergency repair costs
Carrier compressor not turning on is not just a technical issue—it is a time-sensitive operational problem that we must take immediate action.
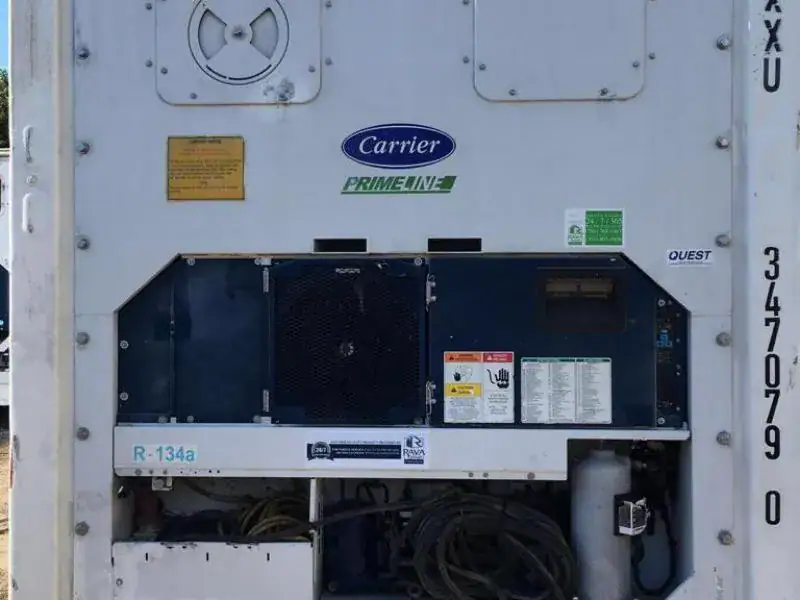
Industry Standard: Carrier Reefer Compressors
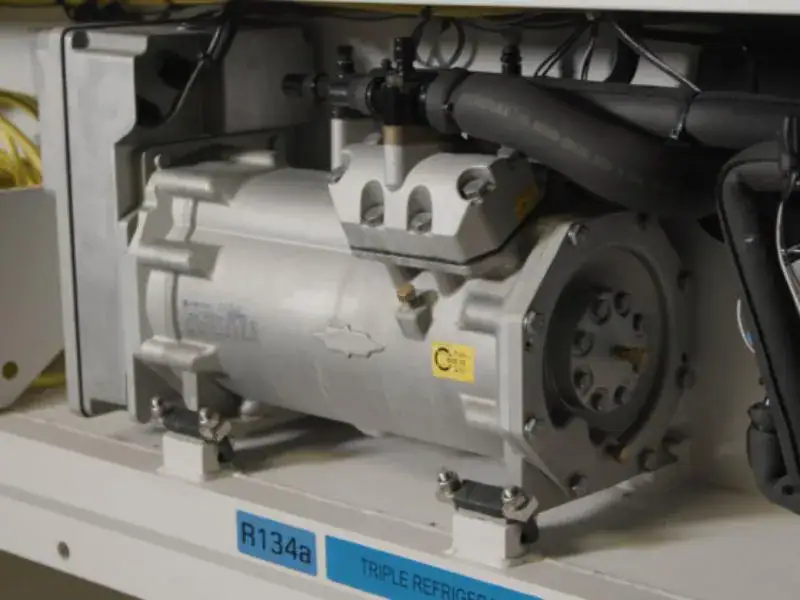
Carrier has established itself as one of the most recognized names in transport refrigeration. Whenever you mention reefer compressors, it is hard to avoid Carrier. Especially, the two classic series of reefer compressors introduced by Carrier Transicold—which remain widely used to this day—are:
The Carrier 05G series represents the heavy-duty lineup, built for large reefer trailers that require strong cooling capacity and stable operation under high loads. It excels in extended runs and demanding transport conditions.
The Carrier 05K series is the compact, medium-capacity solution, ideal for smaller refrigerated units where space and efficiency are priorities. It provides dependable performance with lower power draw and easier integration.
Carrier Compressor Not Turning On: Causes
Systematic inspection is especially essential to put the first when your Carrier compressor Not Turning On. Only by locating the issue step by step—starting from power supply, control signals, and safety protections, to internal mechanical conditions—can you make sure about the exact problem more efficiently.
Electrical System Issues
Electrical faults are one of the most straightforward causes. Problems such as damaged wiring, blown fuses, or faulty relays can interrupt the power supply, preventing the compressor from engaging.
Low Refrigerant Pressure
Modern refrigeration systems include pressure protection switches. If refrigerant levels drop too low—often due to leakage—the system will automatically prevent the compressor from starting to avoid damage.
Clutch or Drive Mechanism Failure
A worn compressor clutch may fail to engage properly. In such cases, the compressor appears inactive even though the system is powered.
Internal Wear and Reduced Compression
As internal components wear out, the compressor may not be able to build sufficient pressure. This can prevent the system from reaching the conditions required for startup.
Shaft Seal Leakage
The shaft seal plays a critical role in maintaining internal pressure. When it fails, refrigerant and oil leak out, causing pressure imbalance and eventually preventing the compressor from turning on.
Valve Plate and Piston Damage
Valve plates and pistons are essential for maintaining compression cycles. Damage, fatigue, or carbon buildup in these components can lead to:
-
Poor compression efficiency
-
Internal leakage
-
Startup failure
Repair vs Replacement
Even high-performance compressors experience wear over time. Like all mechanical components, compressors degrade as internal parts wear, lubrication declines, and sealing weakens. These issues—alone or in combination—often lead to a Carrier compressor failing to start.
Let’s take a moment to consider:
-
Has the compressor aged or worn down to the point where it requires replacement?
-
Is it worth replacing it with a new compressor?
Under most common circumstances, the compressor housing and core structure are still functional. The Not-Working issue lies in replaceable wear compressor components, such as:
-
Shaft seals
-
Valve gaskets
-
Pistons
-
Valve plates
In most situations, repairing the compressor is significantly more cost-effective than replacing it.
How Much Does a Carrier Compressor Cost?
A new Carrier compressor typically costs:
$1,500 to $4,000+, depending on model and specifications
Hidden Costs
Replacing the compressor also involves:
-
Labor and installation
-
Refrigerant refill
-
System cleaning and flushing
-
Equipment downtime
For refrigerated transport, downtime alone can be more costly than the repair itself.
Step-by-Step Guide
Step 1: Verify Power Supply
-
Check: Measure voltage levels, and inspect fuses, relays, and wiring connections.
-
Fix: Restore proper voltage, replace blown fuses or faulty relays, and repair or tighten any damaged or loose wiring.
Step 2: Inspect the Compressor Clutch
-
Check: Confirm whether the clutch engages when the system is turned on.
-
Fix: Adjust or replace the clutch coil if it fails to engage, and ensure proper air gap and electrical connection.
Step 3: Check Refrigerant Pressure
-
Check: Use manifold gauges to verify suction and discharge pressures.
-
Fix: Recharge refrigerant if levels are low, or recover and correct overcharged systems. Address any underlying system imbalance.
Step 4: Look for External Leaks
-
Check: Inspect for oil residue around the shaft seal, fittings, and compressor housing.
-
Fix: Repair leakage points by resealing connections or replacing faulty seals, and recharge the system after fixing leaks.
Step 5: Evaluate Internal Components
If all external checks are normal, we must think about whether there is something wrong with internal components and apply targeted repairs:
Valve Plates
-
Check: Look for warping, cracks, or carbon buildup affecting sealing performance.
-
Fix: Clean minor carbon deposits; if damage or deformation is found, restore sealing by replacing or refurbishing the valve plate.
Pistons
-
Check: Inspect for scoring, wear, or seizure in pistons and cylinder walls.
-
Fix: Remove debris and ensure proper lubrication; if excessive wear or damage is present, repair or rebuild the piston assembly.
Gaskets and Seals
-
Check: Identify leakage or hardening in gaskets and sealing components.
-
Fix: Replace degraded seals and gaskets, and ensure all sealing surfaces are clean and properly fitted to restore airtight performance.
Key Carrier Compressor Parts List
When internal wear is identified, targeted replacement of key components can restore compressor function without full replacement.
17-44145-00 Shaft Seal Assembly
When the shaft seal assembly fails, it can cause oil leakage at the compressor shaft, gradual refrigerant loss, and reduced system pressure. In some cases, this may even prevent the compressor from engaging, affecting overall system operation.
The 17-44145-00 shaft seal assembly is designed for reliable sealing at the shaft interface. With high resistance to temperature and pressure, it ensures stable performance under demanding conditions while offering OEM-level compatibility and long service life.
By replacing the worn shaft seal with the 17-44145-00 assembly, sealing integrity is restored, leakage is eliminated, and system pressure is stabilized. This helps ensure smooth compressor operation and prevents further performance issues.
17-55020-20 Valve Gasket Kit
When the valve gasket kit wears out, it can cause internal leakage within the compressor. This often leads to pressure loss, reduced cooling efficiency, and difficulty starting, directly affecting overall system performance.
The 17-55020-20 valve gasket kit is designed as a complete sealing solution for the valve plate assembly. It offers reliable fitment and durable materials, helping ensure stable sealing performance and consistent compressor operation.
By replacing worn gaskets with the 17-55020-20 kit, proper sealing is restored, internal leakage is reduced, and suction and discharge efficiency are improved. This helps bring the compressor back to normal working condition and extends its service life.
Compressor Piston
The piston is the key moving component that compresses refrigerant inside the cylinder. Over time, friction can cause wear, scoring, or surface damage, leading to loss of compression efficiency.
When the piston is worn, compression becomes weak or inconsistent, operating pressure may be hard to reach, and the compressor may fail to start.
Replacing or maintaining the piston can restore the compression ratio, improves cooling efficiency, and extends the compressor’s service life.
Valve Plate
The valve plate controls refrigerant flow during suction and discharge cycles. Common issues include valve reed damage, warping from high temperatures, and carbon buildup or contamination.
Damaged valve plates can cause poor suction/discharge performance, internal leakage, and startup failures.
Installing a properly functioning valve plate improves volumetric efficiency, stabilizes system pressure, and enhances overall compressor reliability.
Conclusion
Most of the time, the compressor does not “fail to start by itself” —it is locked out by system protections due to leakage, low pressure, or internal compression loss.
By focusing on key Carrier reefer compressor parts such as:
-
Shaft seals
-
Valve gaskets
-
Pistons
-
Valve plates
When the Carrier compressor not turning on, for maintenance teams and fleet operators, the most effective strategy is clear:
Diagnose the cause, replace critical components to maximize the life of your Carrier reefer compressor.