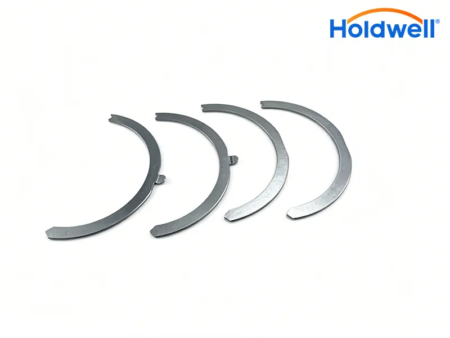
Brake pads and shoes are critical safety components for all types of vehicles—from tractors and telehandlers to small earth-moving equipment and passenger cars.
When it comes to vehicle maintenance, the braking system is the thin line between a routine stop and a mechanical catastrophe. Whether you are maintaining a high-performance passenger car or heavy-duty industrial equipment like telehandlers and tractors, understanding the nuances of friction technology is essential. Proper installation ensures optimal braking performance, minimizes wear on related components, and most importantly, keeps operators and equipment safe.
Proper installation isn’t just about “swapping parts”—it’s about restoring the engineered safety standards of your machine. In this guide, we break down the professional approach to installing both disc brake pads and drum brake shoes.
Key preparation & safety precautions
Before starting any installation work, prioritize safety and preparation to prevent accidents and ensure the job is done right. Here’s what you need to do first:
-
Secure the vehicle: Park the machine on a flat, level surface and engage the parking brake. For added safety, use jack stands to lift and support the vehicle—never rely solely on a jack. Ensure the wheels are chocked to prevent rolling.
-
Gather tools & supplies: Prepare all necessary tools, including a jack, jack stands, socket set, torque wrench, caliper piston compressor (or C-clamp), brake cleaner, silicone-based brake lubricant, and a wire brush. Have new brake pads, shoes, and replacement hardware (retaining clips, springs, pins) ready—always use high-quality, OEM-compatible parts for reliability.
-
Disconnect power (if applicable): For heavy machinery like tractors or telehandlers, turn off the engine and disconnect the battery to avoid accidental activation.
-
Read manufacturer instructions: Always refer to the vehicle or equipment manufacturer’s guidelines before beginning. This guide provides general recommendations, but specific models may have unique requirements.
Step-by-step guide to installing brake shoes
Brake shoes are used in drum brake systems, commonly found in older vehicles, heavy machinery, and the rear wheels of some modern cars. Follow these steps for proper installation:
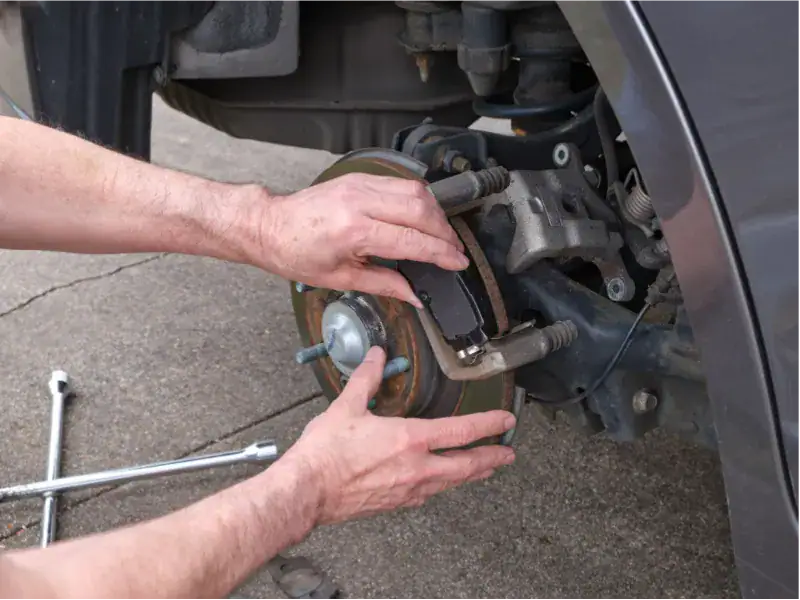
1. Remove the wheel & brake drum
Secure the vehicle with jack stands and remove the wheel. Deactivate the handbrake (or parking brake) to release tension on the brake shoes. Carefully remove the brake drum—if it’s stuck due to rust, tap it gently with a rubber mallet to loosen it. Inspect the drum for cracks, warping, or excessive wear; replace it if necessary.
2. Clean & inspect the drum mechanism
Use brake cleaner and a wire brush to clean the inside of the drum and the brake assembly, removing dirt, brake dust, and rust. Inspect the brake cylinders for leaks, and check the hardware (springs, pins, adjusters) for wear or damage—replace any worn components with new ones.
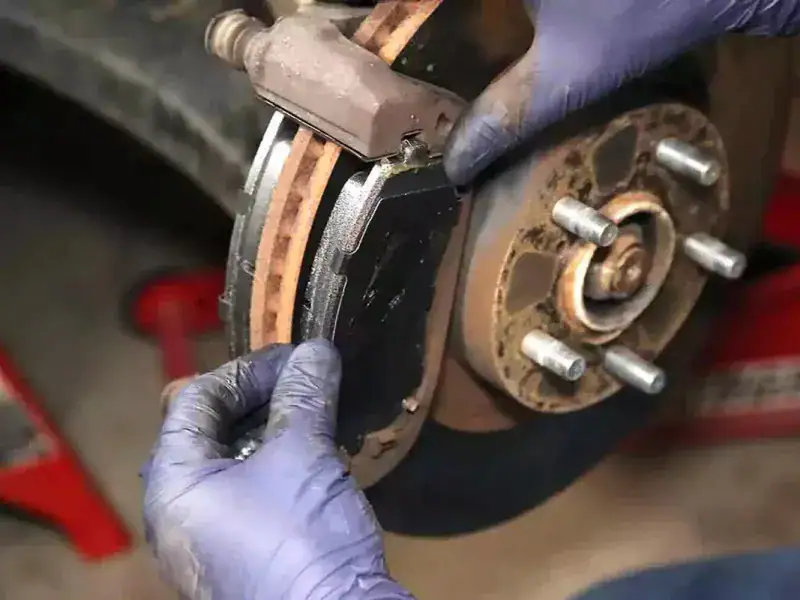
3. Remove old brake shoes
Disconnect the return springs and hold-down pins that secure the old brake shoes to the backing plate. Carefully remove the shoes, noting their position (primary and secondary) to ensure correct installation. Take note of how the springs and adjusters are attached—taking a photo can help with reassembly.
4. Install new brake shoes & hardware
Install the new brake shoes onto the backing plate, following the same orientation as the old ones. Reattach the hold-down pins and return springs, ensuring they are securely fastened. Replace any worn or damaged hardware (springs, adjusters) with new parts—this is critical for proper brake function.
5. Adjust the star wheel adjuster
Use the star wheel adjuster to bring the new brake shoes closer to the drum. Turn the adjuster until the shoes just touch the drum, then back it off slightly to allow for proper movement. This ensures the brakes engage smoothly and reduces pedal travel.
6. Reinstall the brake drum & wheel
Carefully slide the brake drum back onto the hub, ensuring it fits snugly. Reinstall the wheel and tighten the wheel nuts/bolts to the manufacturer’s specified torque. Reactivate the handbrake to test the adjustment.
7. Final checks for brake shoes
Pump the brake pedal several times to seat the new shoes against the drum. Test the brakes in a safe area to ensure they are responsive and free of noise. If the brake pedal feels soft or spongy, check for leaks in the brake system.
Key tips & warnings for installation
-
Lubrication: Use only silicone-based brake lubricant for slide pins and contact points—petroleum-based lubricants can degrade rubber components and cause brake failure.
-
Cleanliness: Always clean new rotors or drums with brake cleaner to remove shipping oil—this ensures proper friction and prevents brake fade.
-
Bed-in Procedure: After installation, perform a bed-in process to break in the new brake components. For most vehicles, this involves 8–10 stops from 60 km/h down to 20 km/h, allowing the brakes to cool between stops. This ensures even wear and optimal performance.
-
Orientation: Never install brake pads backwards—squealer tabs should be on the leading edge (the side that first makes contact with the rotor when braking).
-
Warning Signs: If you hear grinding noises during braking, it indicates metal-to-metal contact, which means the brake pads or shoes are completely worn. Stop using the vehicle immediately and replace the components—continuing to drive can damage the rotors or drums, leading to more costly repairs.
Why choose high-quality brake pads & shoes?
The success of your brake installation depends not only on following the correct steps but also on using high-quality parts. Premium brake pads and shoes are designed to withstand extreme friction, last longer, and provide consistent braking performance—critical for heavy machinery and commercial fleets. They also reduce downtime, lower maintenance costs, and ensure the safety of operators and equipment.
Whether you’re maintaining a single vehicle or a large fleet, choosing reliable brake components is essential. Our extensive range of brake pads, shoes, and hardware is engineered to meet the highest standards, with fast delivery times to minimize downtime. Our team of technical experts is also available to answer any questions and provide guidance throughout the installation process.
Remember: Proper installation of brake pads and shoes is not just a maintenance task—it’s a safety priority. By following this guide and using high-quality parts, you can ensure your brakes perform reliably for miles to come.