At Holdwell, we’ve observed a widespread issue among professional mechanics and vehicle owners: even after replacing a faulty crankshaft position sensor, many vehicles still suffer from rough engine operation, persistent fault codes, or hard starting issues. In most cases, these recurring problems stem not from inferior sensor quality, but from incomplete installation, improper reset operations, or a missing crankshaft position relearn calibration process.
A common misconception we’ve identified is that most users mix up basic sensor reset routines with professional crankshaft position relearn procedures. This procedural confusion often results in repeated malfunctions and unnecessary secondary maintenance expenses. As a reliable and professional supplier of engine electrical components, Holdwell has compiled this comprehensive industry-standard guide. We aim to clarify the full set of standardized, industry-approved steps for crankshaft position sensor replacement, installation, resetting and relearning, helping users eliminate operational errors and resolve related engine issues thoroughly.
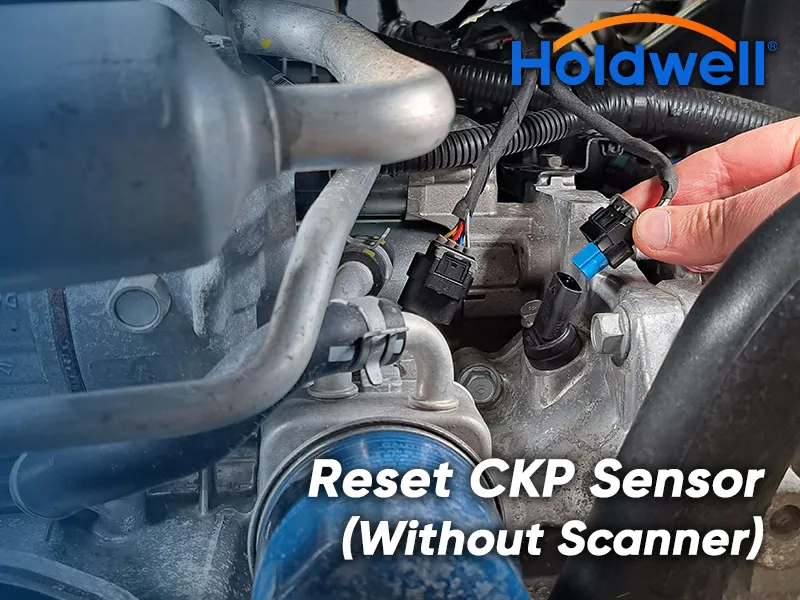
How to reset crankshaft position sensor without a scanner?
You can perform a basic crankshaft position sensor reset and idle relearn procedure without an OBD scanner on most mainstream gasoline and light-duty diesel engines. This method works to clear temporary adaptive data and resolve common post-replacement rough idle, hesitation, and minor timing mismatch issues, though it cannot complete advanced factory crankshaft relearn for certain latest vehicle models.
Follow this standard scanner-free reset process step by step. First, fully warm up the engine to normal operating temperature and turn off all electrical accessories including air conditioners, heaters, and car lights to avoid interfering with engine idle data calibration. Next, turn off the engine and let it sit for 30 seconds to allow the ECU to fully store the previous running data. After that, start the engine and keep it running at stable idle speed for 5 to 8 minutes without pressing the throttle, enabling the ECU to relearn new crankshaft position sensor baseline signals automatically.
For further calibration, complete a simple road relearn: drive the vehicle smoothly at a steady speed of 40–60 km/h for 5–10 minutes, with gentle acceleration and deceleration. This helps the ECU adapt to real-time crankshaft signal changes and synchronize ignition and fuel injection timing. Once finished, park the vehicle and idle for another 2 minutes to save the calibrated data.
Holdwell reminds that this scanner-free reset is suitable for routine maintenance and common intermittent sensor signal faults. If you encounter persistent misfire codes, severe timing deviation, or no-start failures after sensor replacement, professional diagnostic equipment is still required for formal crankshaft relearn. Always ensure the new sensor is installed correctly with intact wiring and clean mounting surfaces before resetting, to guarantee effective calibration results.
How to replace the crankshaft sensor?
Replacing the crankshaft position sensor is generally straightforward, but access difficulty varies greatly depending on engine design.
The sensor is commonly located:
-
Near the crankshaft pulley
-
Beside the flywheel housing
-
Behind the starter motor
-
Near the engine block timing cover
Basic replacement steps:
1. Disconnect the battery
Always isolate electrical power before servicing engine sensors.
2. Locate the sensor
Consult the engine service manual for the exact position.
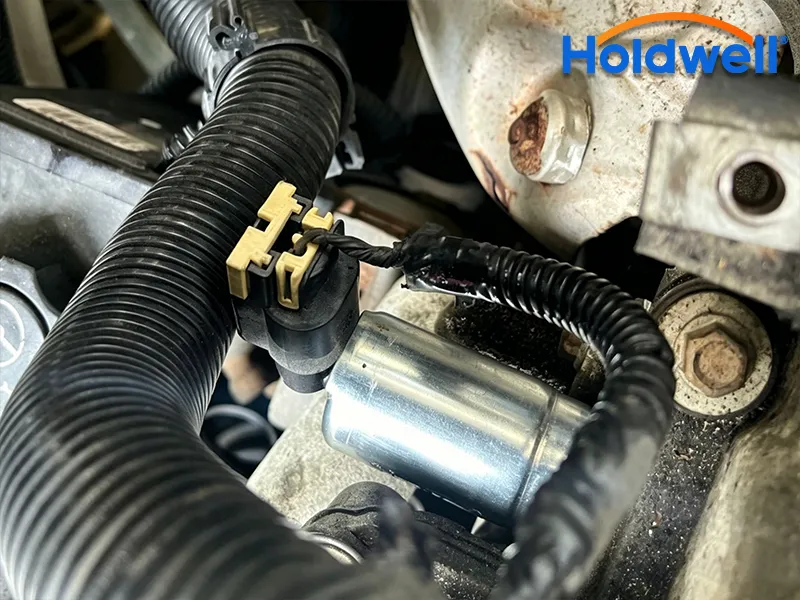
3. Disconnect the electrical connector
Inspect the connector for:
-
Corrosion
-
Oil contamination
-
Broken locking tabs
-
Damaged wiring
Many sensor failures are actually wiring-related rather than sensor-related.
4. Remove mounting hardware
Most crankshaft sensors are secured with one or two bolts.
5. Carefully remove the old sensor
Avoid forcing the sensor if it is stuck from heat or debris buildup.
6. Compare old and new parts
Check:
-
Connector shape
-
Sensor length
-
Mounting position
-
O-ring size
-
Air gap specifications
Using an incorrect sensor can create timing signal issues immediately after startup.
7. Install the new sensor
Torque bolts according to manufacturer specifications.
8. Reconnect wiring and battery
Ensure connectors fully lock into place.
9. Clear codes and perform relearn if needed
This final step is often overlooked but extremely important.
How much does it cost to replace crankshaft position sensor?
The total cost to replace a crankshaft position sensor typically ranges from $150 to $800 for most vehicles, with luxury or hard-to-access models reaching $1,000–$1,800. The final price depends on parts quality, labor complexity, vehicle make/model, and repair location.
- Aftermarket (OEM-equivalent): $25–$80 (common brands: Dorman, Delphi; suitable for daily drivers).
- Genuine OEM: $60–$250 (exact fit, original quality; required for warranty or luxury cars).
- Import Models: $300–$600 (e.g., BMW, Mercedes-Benz, Audi; integrated wiring or specialized design).
- Easy Access (1–1.5 hrs): $60–$150 (sensor on engine front/side, no major disassembly; most Asian/European mainstream cars).
- Moderate Access (2 hrs): $150–$300 (behind harmonic balancer or splash shields; some American V6/V8).
- Hard Access (3–4 hrs+): $300–$600 (tucked at transmission bellhousing, requires starter/intake removal or transmission jacking; e.g., Audi A6L, VW Touareg).
- Diagnostic Scan: $40–$90 (to confirm sensor failure, rule out wiring/ECM issues).
- Crankshaft Relearn/Calibration: $50–$150 (required after replacement to set base timing; prevents rough idle/misfire codes).
- Taxes & Shop Supplies: $10–$50 (varies by region).
- Independent Garage: $143–$223 (aftermarket part + standard labor; best value for most cars).
- Dealer (4S Shop): $500–$1,200 (genuine OEM part + dealer labor + mandatory calibration).
- DIY: $25–$80 (parts only; requires basic tools and repair knowledge).
- Compact Cars (Toyota Corolla/Honda Civic): $150–$250 (aftermarket, easy access).
- Mid-Size SUV (Ford F-150/Jeep Grand Cherokee): $250–$400 (OEM part, moderate access).
- Luxury Sedan (BMW 3-series/Mercedes C-class): $600–$1,000 (OEM, hard access + calibration).
How to install a crankshaft position sensor correctly?
Proper installation matters just as much as the replacement itself. Even a high-quality sensor can fail prematurely if installed incorrectly.
Key installation considerations:
Many crankshaft sensors rely on precise spacing between the sensor tip and reluctor wheel. Excessive gap can weaken the signal, while insufficient clearance may damage the sensor.
Metal debris, rust, or oil contamination can interfere with sensor alignment.
Avoid routing sensor wires near:
-
Exhaust components
-
Rotating pulleys
-
High-voltage ignition wires
Heat and vibration are common causes of wiring failure.
Low-grade sensors may produce unstable signals or fail under high engine temperatures.
At Holdwell, our aftermarket crankshaft position sensors are engineered for durability, signal stability, and reliable performance across demanding diesel and industrial applications.
How to relearn crankshaft positioning sensor?
A crankshaft position relearn procedure allows the ECM to recalibrate the relationship between the crankshaft sensor and engine timing system.
This procedure is especially important after:
-
Replacing the crankshaft sensor
-
Replacing the ECM
-
Timing chain or gear repairs
-
Engine rebuilds
-
Flywheel replacement
Without relearning, the engine may continue to experience:
-
Misfire codes
-
Poor acceleration
-
Rough operation
-
Incorrect ignition timing
Typical crankshaft relearn process
The exact steps vary depending on the engine manufacturer, but the general process looks similar:
1. Connect a diagnostic scan tool
Professional scan equipment communicates with the ECM and initiates relearn mode.
2. Bring engine to operating temperature
Most systems require stable coolant temperature before calibration begins.
3. Verify no active fault codes
Existing ignition or fuel system faults can interrupt the relearn process.
4. Perform controlled RPM acceleration
The technician increases engine RPM according to manufacturer specifications while the ECM records crankshaft variation data.
5. Allow ECM to store calibration values
Once completed, the ECM permanently stores the updated crankshaft reference pattern.
On some engines, the relearn takes only a few minutes. On others, especially heavy-duty diesel platforms, more advanced calibration procedures may be required.
Why crankshaft sensor issues should never be ignored?
A failing crankshaft position sensor can quickly escalate from a minor drivability issue into a complete engine shutdown. In construction equipment, agricultural machinery, generators, and commercial vehicles, unexpected downtime can become extremely costly.
Early diagnosis and correct installation procedures help avoid:
-
Unplanned equipment failure
-
Injector timing issues
-
Starting failures
-
Reduced fuel efficiency
-
Damage to related engine components
Replacing the sensor alone is not always enough. Proper reset and relearn procedures are often essential for restoring full engine performance.
Conclusion
Understanding how to reset, relearn, replace, and install a crankshaft position sensor helps ensure accurate engine timing and long-term reliability. While the process may vary between gasoline and diesel platforms, the core principles remain the same: accurate positioning, stable signal communication, and proper ECM calibration.
For professional-grade aftermarket engine sensors and replacement components, Holdwell continues to support equipment owners and repair professionals worldwide with dependable solutions built for real working conditions.