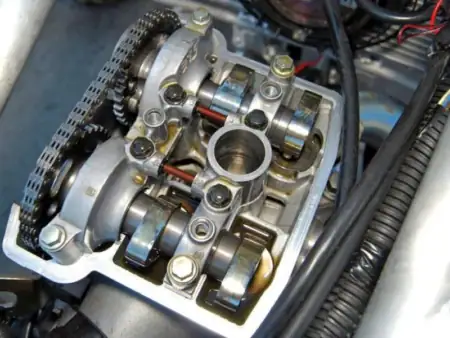
If your lawn mower blades won’t engage, the PTO switch is almost always the first part to check. As the main electrical controller for your PTO clutch, this small switch can fail from dirt, moisture, vibration, or long-term use. Testing a PTO switch properly helps you avoid wasted money on wrong parts and expensive repairs. In this guide, we’ll show you how to test a PTO switch with a multimeter — step by step, for DIYers and small repair shops.
What is a PTO switch?
A PTO switch (Power Take-Off switch) is a 12V electrical switch on your mower dashboard that sends power to the PTO clutch. When you turn it on, it closes the circuit and activates the mower blades. When off, it opens the circuit to stop the blades.
A faulty PTO switch can cause:
-
Blades that won’t engage
-
Blades that won’t disengage
-
Intermittent cutting power
-
Random clutch clicking or failure
Learning how to test a PTO switch helps you confirm the problem fast.
Tools you need to test a PTO switch
You only need basic tools to test PTO switch correctly:
-
Digital multimeter (for continuity and resistance testing)
-
Screwdrivers (to remove covers and access wiring)
-
Safety gloves and glasses
-
Optional: 12V test light

Safety before testing a PTO switch
Always follow these safety steps before you test any electrical parts:
-
Turn off the engine and remove the key.
-
Disconnect the battery negative terminal.
-
Set the parking brake and put the transmission in neutral.
-
Let the engine cool completely to avoid burns.
Step 1: Locate and access the PTO switch
Before you test a PTO switch, you must find it:
-
Find the PTO switch on the dashboard (marked PTO or Blade Engage).
-
Remove any plastic covers to reach the wiring harness.
-
Check for visible damage: cracked housing, corroded pins, frayed wires, or loose plugs.
-
Unplug the wiring connector to isolate the switch for testing.
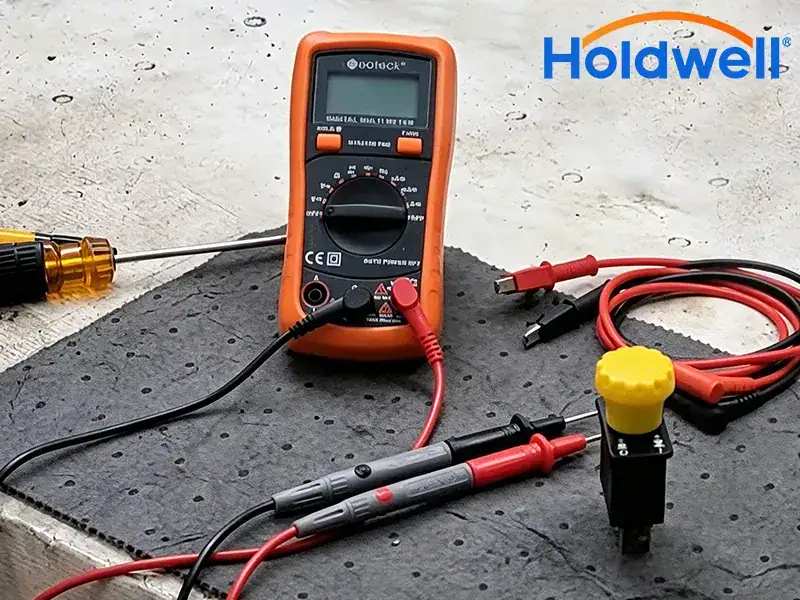
Step 2: How to test a PTO switch with a multimeter (continuity test)
This is the most reliable way to test PTO switch function.
-
Set your multimeter to continuity mode (the beep/sound icon).
-
Touch the two probes together to confirm the meter works (you should hear a beep).
-
Keep the PTO switch in the OFF position first:
-
Touch one probe to the power input terminal.
-
Touch the other probe to the PTO output terminal.
-
Result: No beep, showing an open circuit — normal for OFF.
-
-
Move the PTO switch to the ON position:
-
Keep probes on the same two terminals.
-
Result: A steady beep, showing a closed circuit — normal for ON.
-
How do I know if my PTO switch is bad?
Good PTO switch: Beeps only when ON; no beep when OFF.
Bad PTO switch:
-
No beep when ON → switch won’t send power
-
Beeps even when OFF → switch is stuck closed
-
Unstable or intermittent beeps → internal damage
Step 3: Optional 12V power check (if continuity test passes)
If you test PTO switch and continuity looks good but blades still don’t work:
-
Reconnect the battery and turn the key to the RUN position.
-
Use a test light to check for 12V at the input terminal of the switch.
-
Turn the PTO switch ON and check for 12V at the output terminal.
-
No power? Check fuses, relays, or damaged wiring.
Step 4: How to test a PTO switch without a multimeter? (quick checks)
If you don’t have a meter, you can still test a PTO switch with these simple methods:
-
The Click Test
-
Turn key to RUN (engine off).
-
Engage the PTO switch.
-
Listen for a click from the PTO clutch under the deck.
-
No click = likely bad PTO switch or wiring.
-
-
Direct Clutch Test
-
Disconnect the clutch wires.
-
Briefly touch a jumper wire from the battery positive to the clutch positive.
-
If the clutch clicks, the clutch is good — the problem is your PTO switch.
-
Step 5: Tell the difference between a bad PTO switch and a bad clutch
Many people mix up PTO switch issues with clutch failure. Here’s how to check:
-
Set your multimeter to ohms (Ω).
-
Test across the two wires of the PTO clutch.
-
Normal reading: 2–4 Ω
-
Out of range? The clutch is faulty, not the switch.
-
If clutch is good, your PTO switch is the problem.
Extra tips to test PTO switch accurately
-
Always check your mower’s wiring diagram for correct pin positions.
-
Clean corroded terminals before you test a PTO switch.
-
Test safety interlocks (seat, brake, reverse) — they can block PTO power.
-
Replace a bad PTO switch with a high-quality part like Holdwell for long life.
Conclusion
How to test a PTO switch with a multimeter is easy, fast, and saves you money. In just 5–10 minutes, you can confirm if your PTO switch is good or bad, avoid unnecessary repairs, and get your mower cutting again.
A healthy PTO switch has strong continuity when ON and no continuity when OFF. If your switch fails the test, replace it with a durable, OEM‑fit PTO switch from Holdwell.
At Holdwell, we provide reliable PTO switches, PTO clutches, and wiring parts for all major lawn mower brands. Keep your equipment running strong with parts built to last.